Uncategorized
Remove Network Drives Instantly: Windows 11 CMD Commands Guide
In today’s fast-paced digital environment, managing your network drives efficiently is crucial. Whether you are dealing with multiple network drives in a corporate setting or simply managing your home network, knowing how to remove network drives instantly using the Windows 11 Command Prompt can save you time and effort. In this comprehensive guide, we will delve into the Windows 11 remove network drive command prompt steps, providing you with the knowledge and tools you need to master this essential skill.
Understanding Network Drives
Network drives are shared folders or drives located on another computer or server within the same network. They allow users to access files and applications remotely, promoting collaboration and resource sharing. However, over time, you may find that you need to remove or disconnect these drives for various reasons, such as reorganization, network changes, or simply to free up space.
Why Use Command Prompt?
While there are graphical interfaces for managing network drives in Windows 11, using the Command Prompt offers several advantages:
- Speed: Command Prompt operations are often faster than clicking through multiple menus.
- Batch Processing: You can remove multiple network drives simultaneously with a single command.
- Automation: Command Prompt can be scripted, allowing for automated drive management tasks.

Preparing to Remove Network Drives
Before diving into the Windows 11 remove network drive command prompt steps, it’s important to prepare. Ensure you have administrative privileges on the system where you will be performing these commands. Additionally, make a note of the network drive letters or UNC paths you wish to remove.
Basic Command Structure
The basic command for removing a network drive is as follows:
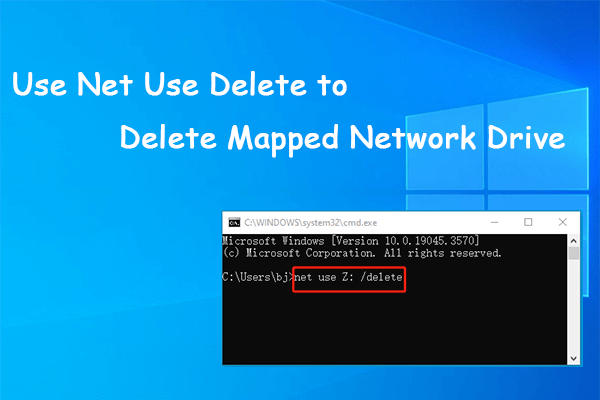
net use [DriveLetter:] /deleteFor instance, if you want to remove a network drive assigned to the letter Z, you would enter:
net use Z: /deleteNow, let’s explore the Windows 11 remove network drive command prompt steps in detail.
Step-by-Step Guide to Remove Network Drives
Step 1: Open Command Prompt
- Press
Windows + Xon your keyboard to open the Power User menu. - Select Windows Terminal (Admin) or Command Prompt (Admin).
- If prompted by User Account Control (UAC), click Yes to grant administrative access.
Step 2: List Current Network Drives
Before removing a network drive, it is helpful to see what is currently mapped. Use the following command:
net useThis command will display a list of all network connections and their statuses. Note the drive letters associated with the drives you want to remove.
Step 3: Remove the Network Drive
Now, you can proceed to remove the desired network drive. Use the command format mentioned earlier:
net use [DriveLetter:] /deleteFor example, to remove drive Z:
net use Z: /deleteStep 4: Confirm Removal
After executing the command, you should see a confirmation message indicating that the drive has been successfully removed. You can verify this by running the net use command again to check if the drive is still listed.
Step 5: Remove Multiple Drives (Batch Removal)
If you have multiple drives to remove, you can do this in a single command line by chaining the commands with &&. For example, if you want to remove drives Z and Y, use:
net use Z: /delete && net use Y: /deleteStep 6: Automating Drive Removal with Scripts
For advanced users, automating the removal of network drives can be achieved using batch scripts. Here’s how:
- Open Notepad.
- Enter the following commands:
   @echo off
   net use Z: /delete
   net use Y: /delete
   echo Network drives removed successfully.
pause- Save the file with a
.batextension, for example,remove_drives.bat. - Run the script as an administrator by right-clicking the file and selecting Run as administrator.
This method not only saves time but also ensures you can remove network drives quickly whenever needed.
Troubleshooting Common Issues
When using the Windows 11 remove network drive command prompt steps, you might encounter some common issues. Here’s how to troubleshoot:
Drive in Use
If you receive an error stating that the drive is in use, ensure that no applications or files are currently accessing the drive. Close any open files or applications before attempting to remove the drive.
Permission Denied
If you face a permission issue, double-check that you are running the Command Prompt as an administrator. Only administrative accounts can modify network drive mappings.
Drive Letter Not Found
Ensure that you are entering the correct drive letter. If you’re uncertain, refer back to the list generated by the net use command to confirm the correct mapping.
Using PowerShell as an Alternative
While the Command Prompt is powerful, some users prefer PowerShell for its enhanced features. The following PowerShell command can be used to remove network drives:
Remove-PSDrive -Name ZReplace Z with the appropriate drive letter. PowerShell also supports batch removal and can be scripted similarly to Command Prompt.
Mastering the Windows 11 remove network drive command prompt steps allows for efficient management of network resources. Whether you’re a system administrator managing numerous drives or a home user simplifying your network setup, knowing how to quickly remove network drives can enhance your productivity.
By utilizing the Command Prompt effectively, you can streamline your workflow, automate repetitive tasks, and resolve issues swiftly. The power of CMD lies not just in its commands but in its ability to transform how you manage your network environment.
FAQs
No, you must have administrative access to remove network drives using the Command Prompt.
Once a network drive is removed, it cannot be undone. You must remap the drive using the net use command.
Use the command net use [DriveLetter:] \\[NetworkPath], replacing [DriveLetter:] with the desired drive letter and [NetworkPath] with the path to the shared folder.
As long as you enter the correct commands and have the necessary permissions, there are minimal risks. Always double-check commands to avoid unintended changes.
You can only remove network drives that are mapped on the computer you are accessing. Remote management of drives requires administrative access to that specific system.

